Simplified Cabinet Diy
This piece of furniture has already had several reincarnations in it’s lifetime. Initially it had legs and was used as a media cabinet. Then we moved and what we really needed was a bedside table. So, the legs were chopped off and it was painted and waxed
Now, what I really needed from this cabinet was more storage in my dinning room. BUT, the other furniture already in the space already has ornate finishes. I wanted to simplify the cabinet and give it a fresh, new, more clean-lined look.
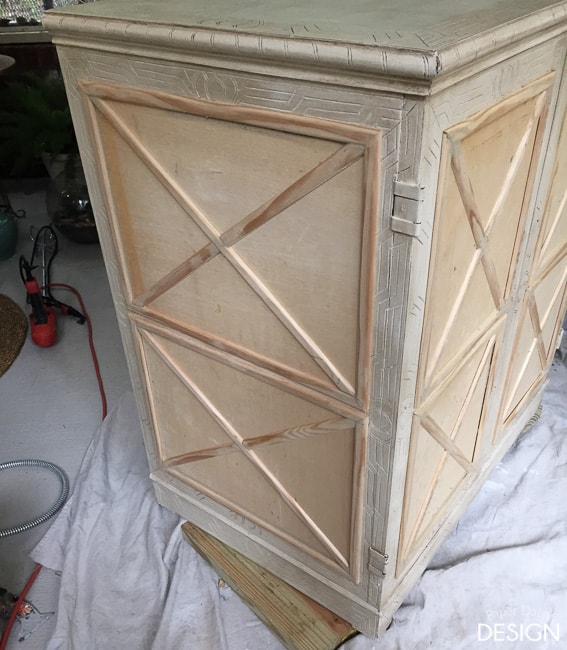
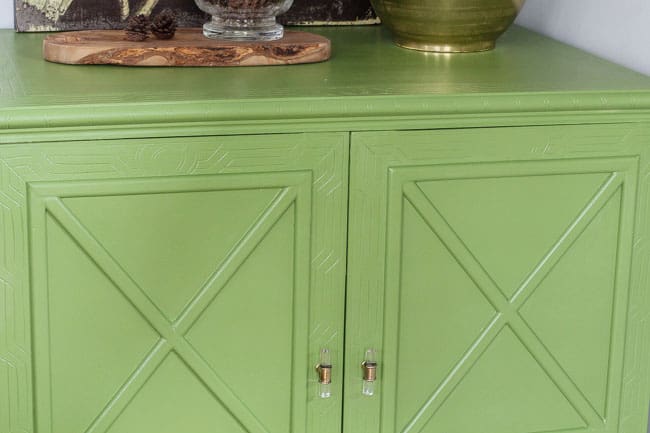
So, I covered the ornate panels with thin sheets of luan and trimmed out each rectangle with screen molding in a geometric design.
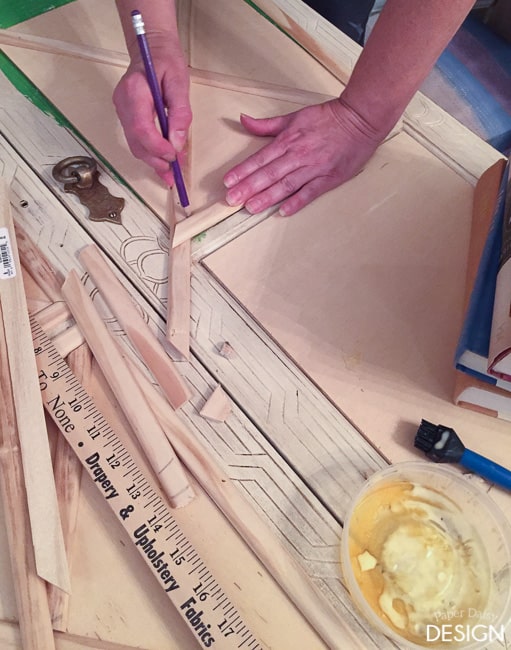
I used wood glue on the flat sheets first and then used a nailer to apply the screen molding, along with more wood glue. This helped prevent the nails from going through the sides of the cabinet.
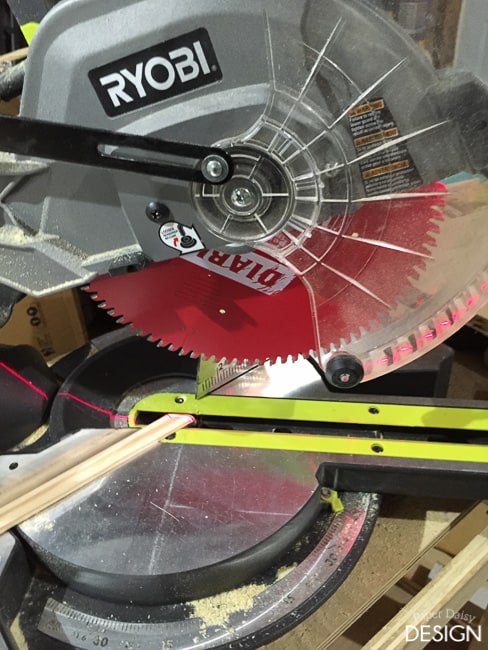
I used my miter saw to cut the corners of the trim. It’s important to use a blade with smaller teeth on wood this small and thin. Always use safety goggles as small pieces do tend to get slightly propelled by the blade.
The odd angles and very small cuts needed where the “x” pieces met the outside rectangular trim, were easily cut on the spot with a smaller handheld cutting tool.

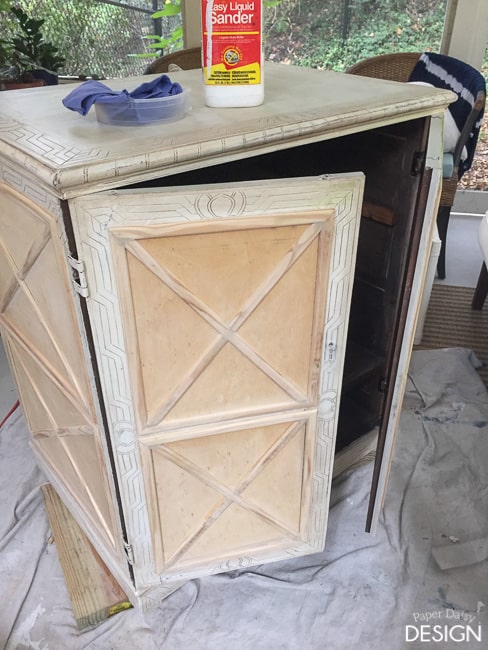
Once it was all trimmed out in the new geometric pattern, it was time to prep the piece for paint. Because this cabinet had been previously painted and waxed, I sanded it thoroughly and wiped it down with mineral spirits.
<><>
After a little more sanding, I wiped it down again with liquid sandpaper.
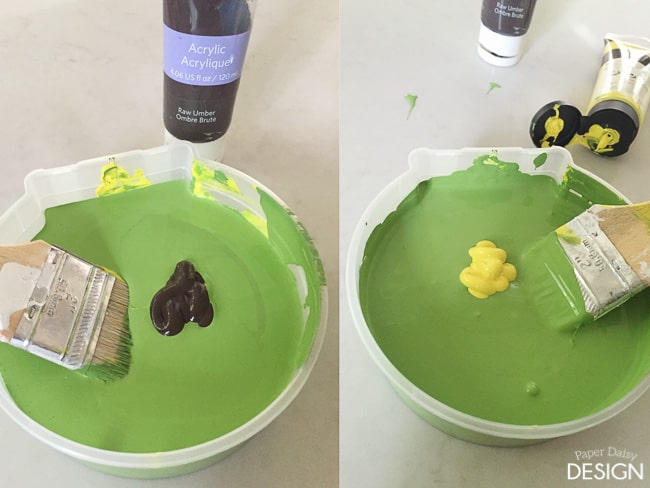
I was happy to give the General Finishes Milk paint a try. While I really liked the Lime Green color I ordered, it turned out to not be quite right for my space. Because their paint is acrylic based, I was able to tint the paint with good quality acrylic artist paint.
A little burnt umber and lemon yellow were perfect additions.
After it was painted with a couple coats, I noticed how well the paint leveled out. Brush marks were nearly undetectable. Very nice attribute.
Then, I finished it with General Finishes High Performance top coat in Flat.
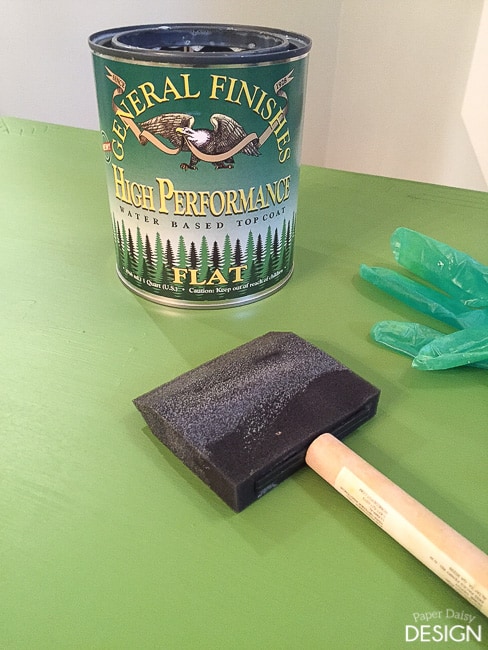
Their flat has a nice luster, but it is not too shiny.
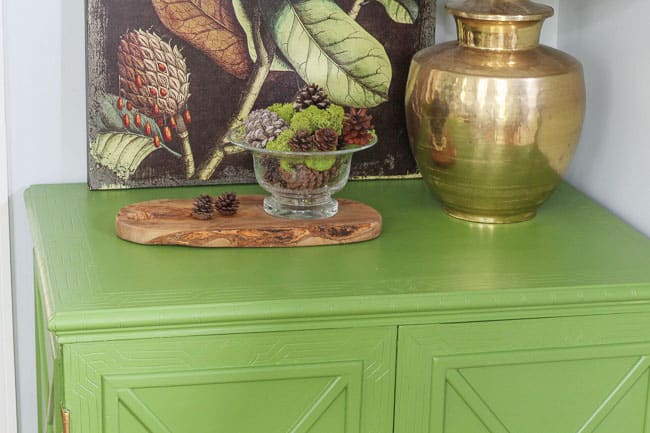
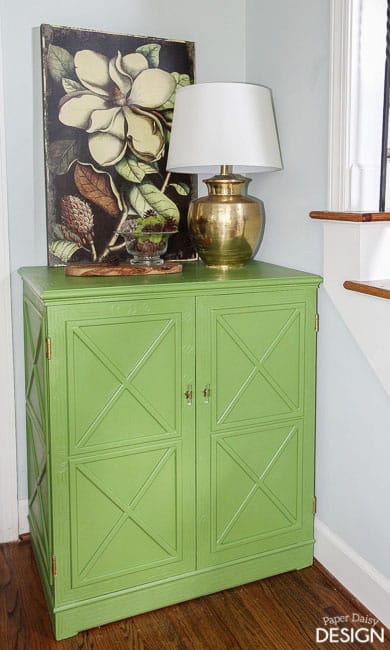
The simple gold and glass knobs were the perfect finishing touch to the more simplified piece now.
Do you see how perfectly it fits in this corner of the dinning room? The scale and design of the piece are a perfect compliment to the rest of the space as well. I’ve already loaded it up with my platters and larger pieces of glassware.
diy arts and crafts,diy and crafts,diy arts and crafts for kids,diy crafts to make and sell,easy diy crafts to make and sell,diy crafts,diy crafts for kids,diy christmas crafts,easy diy crafts,diy crafts for adults,5 minute crafts diy
Post a Comment